
How to Prepare a Hotel Lighting Fixture Schedule
Build a room-by-room decorative lighting schedule that connects design references, exact SKUs, quantities, controls and delivery packages.
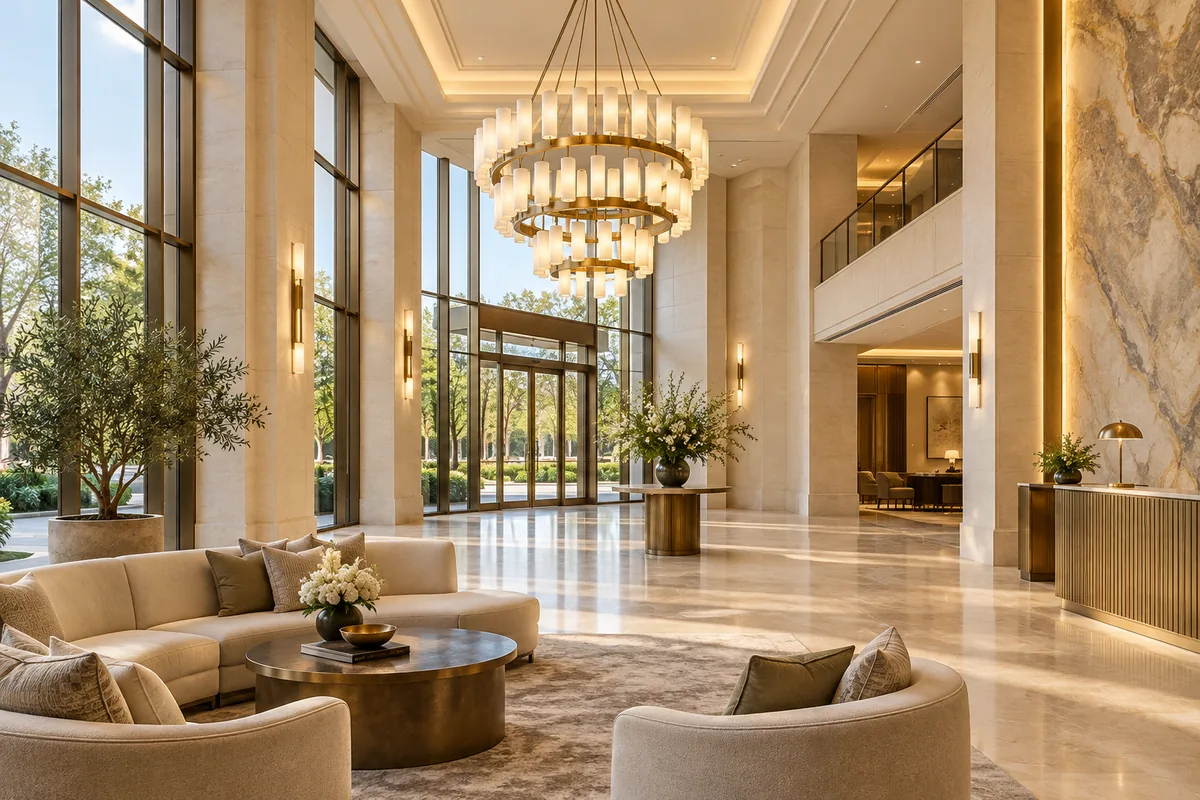
A hotel fixture schedule turns a collection of inspiration images into a list that a buyer, designer and installer can check. Give each distinct configuration a project reference and keep that reference attached to its drawing, sample and quotation. The schedule should describe what is being ordered, while recording unresolved details clearly.
1. Give each configuration its own row
Start with a project reference such as LOB-01 for a lobby chandelier or COR-01 for a corridor fitting. These are your project labels, not supplier model numbers. Keep both the project reference and HAOFLUX model/SKU, so the same catalogue family can appear in several spaces without losing the distinction between configurations.
Separate rows whenever size, shade, finish, power supply or controls differ. Do not combine a 6-head chandelier and a layered version into one line with a total quantity.
- Project reference and room or zone
- Manufacturer model and exact SKU
- Quantity per room, number of rooms and total quantity
- Drawing reference, revision date and approval status
2. Use a small example to check the arithmetic
Illustrative example: a project has 12 rooms with two matching bedside wall lights per room. The schedule shows 2 × 12 = 24 installed fixtures, with any requested spare parts on separate lines. A lobby with two different chandeliers needs two rows, even if both come from the same family. These numbers are an example, not a HAOFLUX package or minimum order.
Keep installation quantity separate from optional spare quantities. If one room changes, update its row and the total rather than overwriting the final number without an explanation. This makes it easier to compare revised quotations.
3. Separate appearance, technical requirements and open questions
Record the finish sample reference and shade choice alongside body dimensions and total hanging drop. Add light-source, supply and control requirements in their own fields. A warm-coloured reference photograph is a design direction, not a confirmed colour-temperature or dimming specification.
Use statuses such as proposed, sample under review and approved. Assign an owner to each unanswered question. If the installer has not confirmed fixing or controls, leave them open instead of treating a blank cell as acceptance.
- Appearance: shade, finish and approved sample reference
- Size: diameter/width, height, total drop and weight
- Electrical: supply, light source and requested controls
- Approval: responsible person, date and outstanding questions
4. Connect the schedule to packing and installation
Ask whether packing labels can include the agreed project references and confirm the arrangement before shipment. Cross-reference assemblies, loose shades and any separately packed accessories. Decide who checks quantities when the delivery arrives and where parts will be stored until installation.
The final schedule should refer to the agreed quotation and installation documents. Confirm destination-based freight, item availability and delivery timing for the exact order. HAOFLUX supplies both stocked and made-to-order items; a schedule is not a stock reservation.
5. Send a reviewable brief
Send the schedule together with drawings or marked-up photographs to xue@haoflux.com. Include the delivery city, intended sequence of installation and the decisions you still need help with. A spreadsheet is useful, but a clearly labelled list is sufficient for an initial discussion.
Keep a dated copy after each approval. When making changes, identify the affected rows and ask for their price, timing and specification impact to be confirmed. This preserves the connection between the product selected online and the configuration that reaches the site.